安装 ArgoCD 
1. 查看 k8s 版本与 argocd 版本对应关系 
https://argo-cd.readthedocs.io/en/stable/operator-manual/installation/#supported-versions
使用以下命令在 Kubernetes 集群中安装 ArgoCD:
kubectl create namespace argocd
kubectl apply -n argocd -f https://raw.githubusercontent.com/argoproj/argo-cd/stable/manifests/install.yaml
 |
|---|
2. 获取默认密码 
使用默认管理员账户 admin 以及通过以下命令获取的初始密码进行登录:
kubectl get secret -n argocd argocd-initial-admin-secret -o=jsonpath={.data.password} | base64 -d
3. 访问 argocd 
访问 Argo cd server 有两种方式:
- 通过 web
- 使用 argocd 客户端工具
https://argo-cd.readthedocs.io/en/stable/getting_started/#4-login-using-the-cli
web 方式访问 
1. port-forward 方式访问 
使用 kubectl port-forward 命令访问 ArgoCD 的 UI 界面:
kubectl port-forward --address 0.0.0.0 svc/argocd-server -n argocd 8080:443
访问浏览器中的 https://localhost:8080,即可登录到 ArgoCD 的 Web 界面。
2. nodeport 方式访问 
1. 修改 service 类型 
将 service 的 type 从 ClusterIP 改为 NodePort
kubectl edit -n argocd svc argocd-server
2. 获取 svc 端口并访问 
kubectl get svc argocd-server -n argocd
3. ingress 方式访问(推荐) 
关闭 TLS 使用 ingress,给后续 webhook 使用
1. 修改 configmap 
添加 server.insecure: "true"
kubectl -n argocd edit configmap argocd-cmd-params-cm
apiVersion: v1
data:
  server.insecure: "true"
kind: ConfigMap
metadata:
  ...
2. 重新部署应用配置 
kubectl rollout restart deployment argocd-server -n argocd
3. 编写 ingress 
apiVersion: networking.k8s.io/v1
kind: Ingress
metadata:
  name: argocd
spec:
  ingressClassName: nginx
  tls:
    - hosts:
        - argocd.k8s.linuxcdn.com
      secretName: k8s-linuxcdn-crt-secret
  rules:
  - host: argocd.k8s.linuxcdn.com
    http:
      paths:
      - path: /
        pathType: ImplementationSpecific
        backend:
          service:
            name: argocd-server
            port:
              number: 80
4. 访问 
访问浏览器中的 argocd.k8s.linuxcdn.com,即可登录到 ArgoCD 的 Web 界面。
argocd 客户端访问 
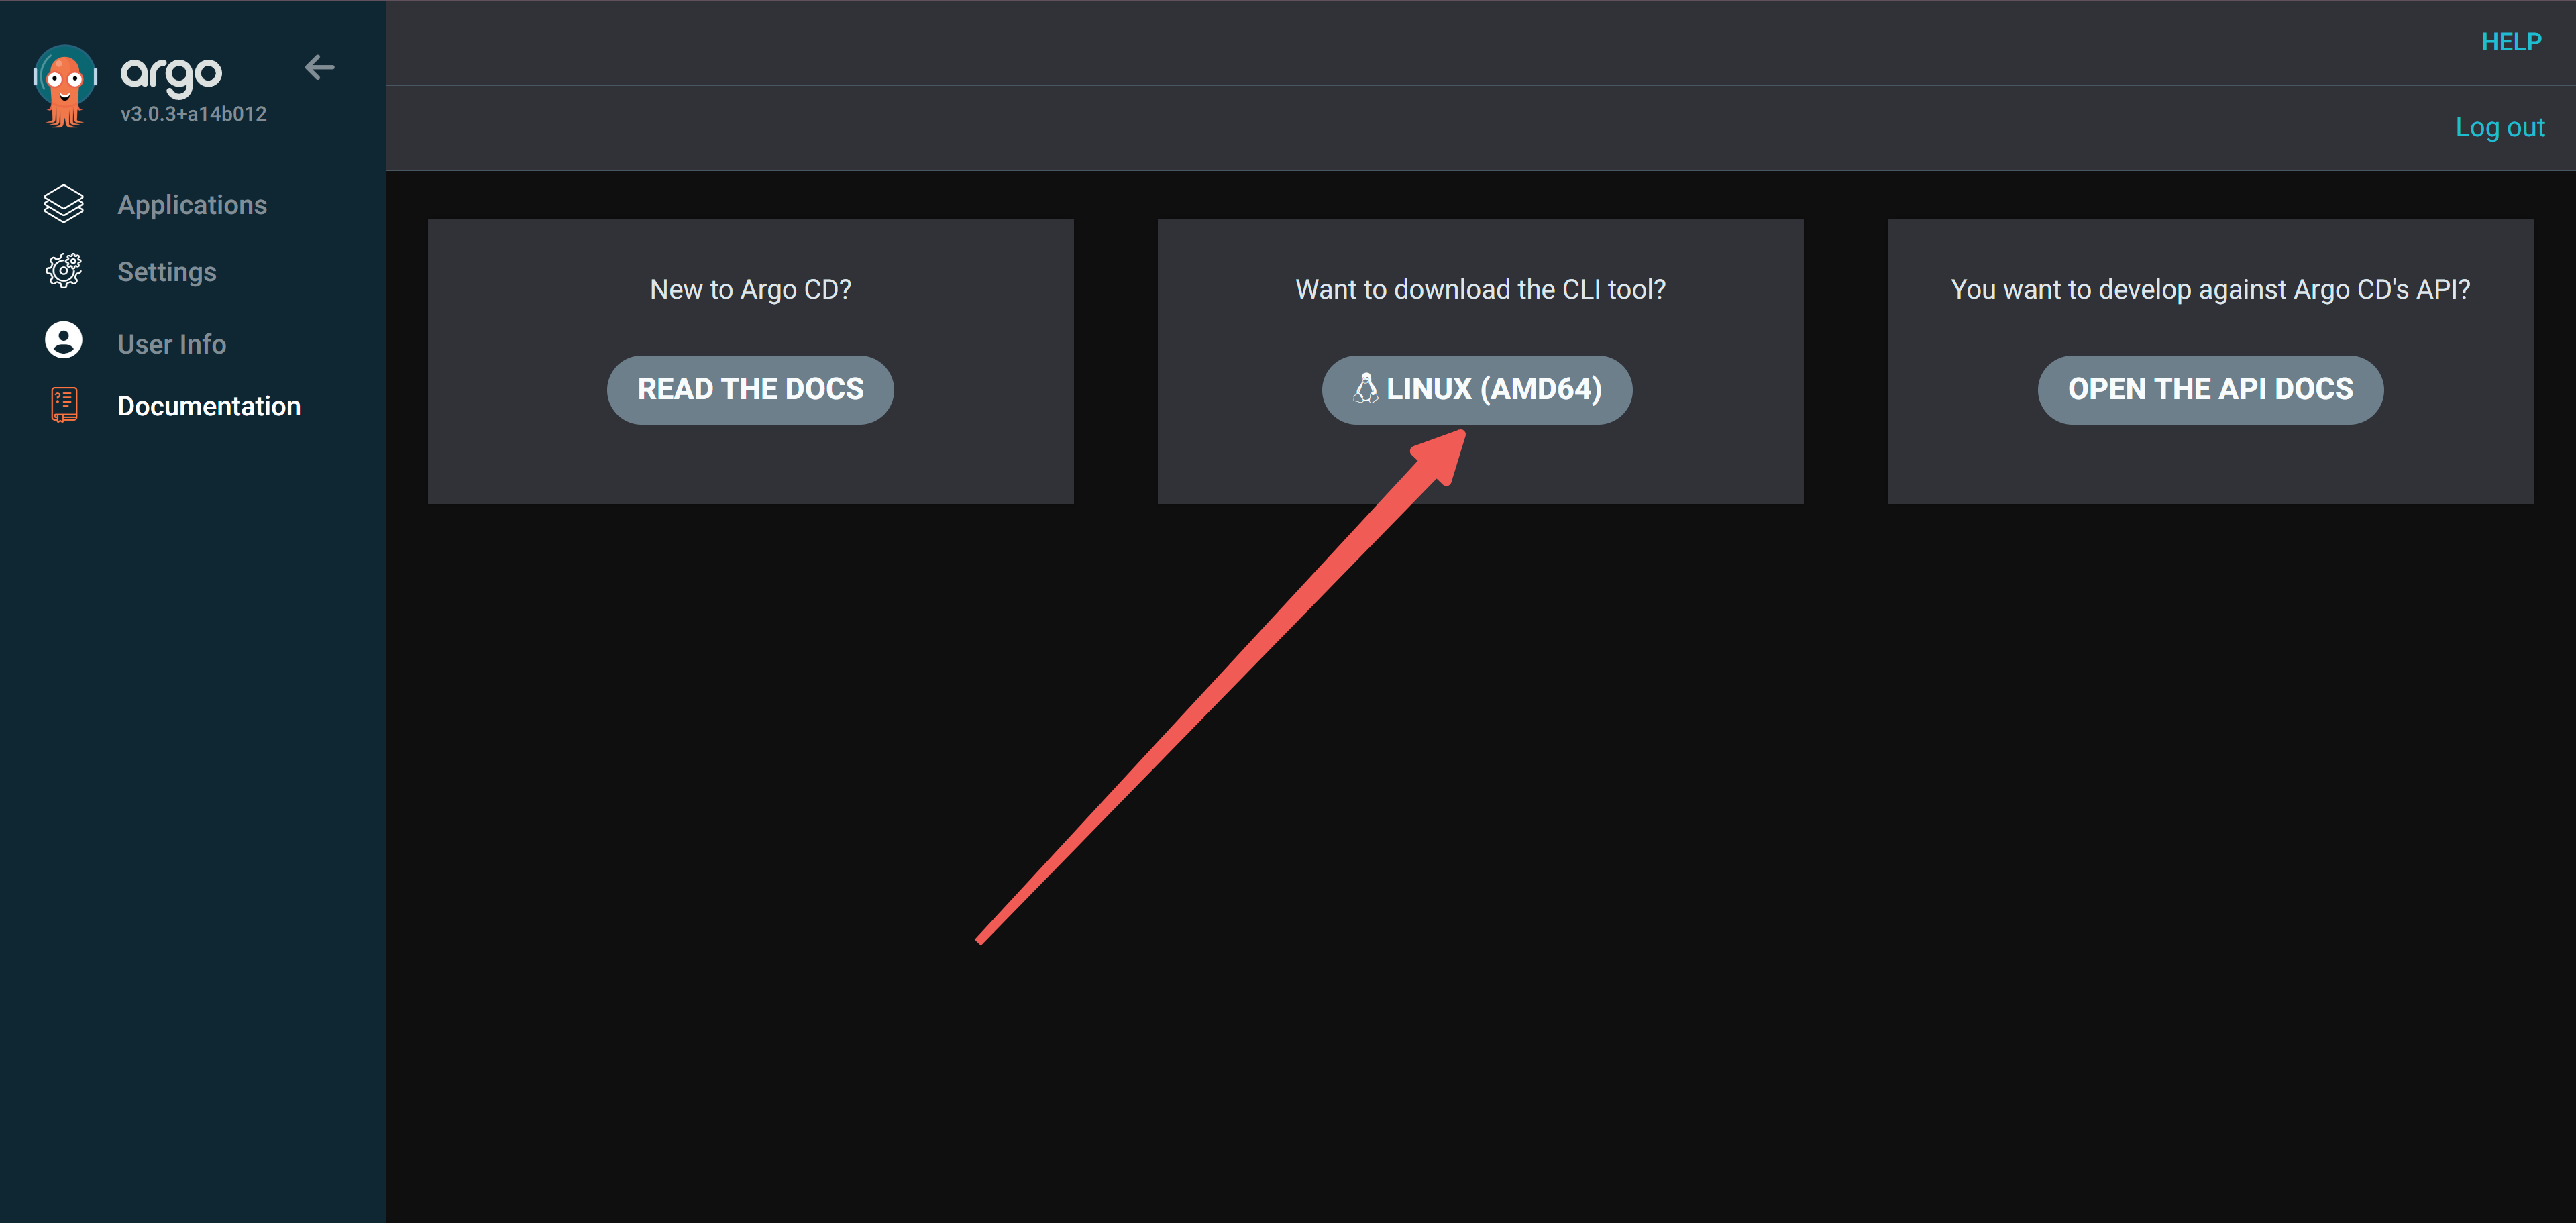
1. 下载客户端 
 |
|---|
2. 客户端工具登录 argocd 
argocd login argo.gitops.linuxcdn.com --username admin --password 12312321312
4. Argo 更改为 webhook 触发 
https://argo-cd.readthedocs.io/en/stable/operator-manual/webhook/
1. webhook配置自动触发 
Argo CD 每三分钟会轮询一次 Git 存储库,以检测清单的更改。为了消除这种轮询延迟,可以将 API 服务器配置为接收 webhook 事件的方式,这样就能实时获取到 Git 存储库中的变化了。
- 消除轮询延迟:Argo CD 默认通过轮询 Git 存储库来检测清单的更改,但这可能会导致一些延迟。通过配置 webhook,Git 存储库可以直接通知 Argo CD 有关代码变更,从而消除轮询延迟,实现即时获取变更的效果。
- 实时获取代码变更:通过 webhook,Git 存储库将即时发送事件通知给 Argo CD 的 API 服务器,包含了代码变更的详细信息。这使得 Argo CD 能够立即获知代码的改变,而无需等待下一次轮询周期。
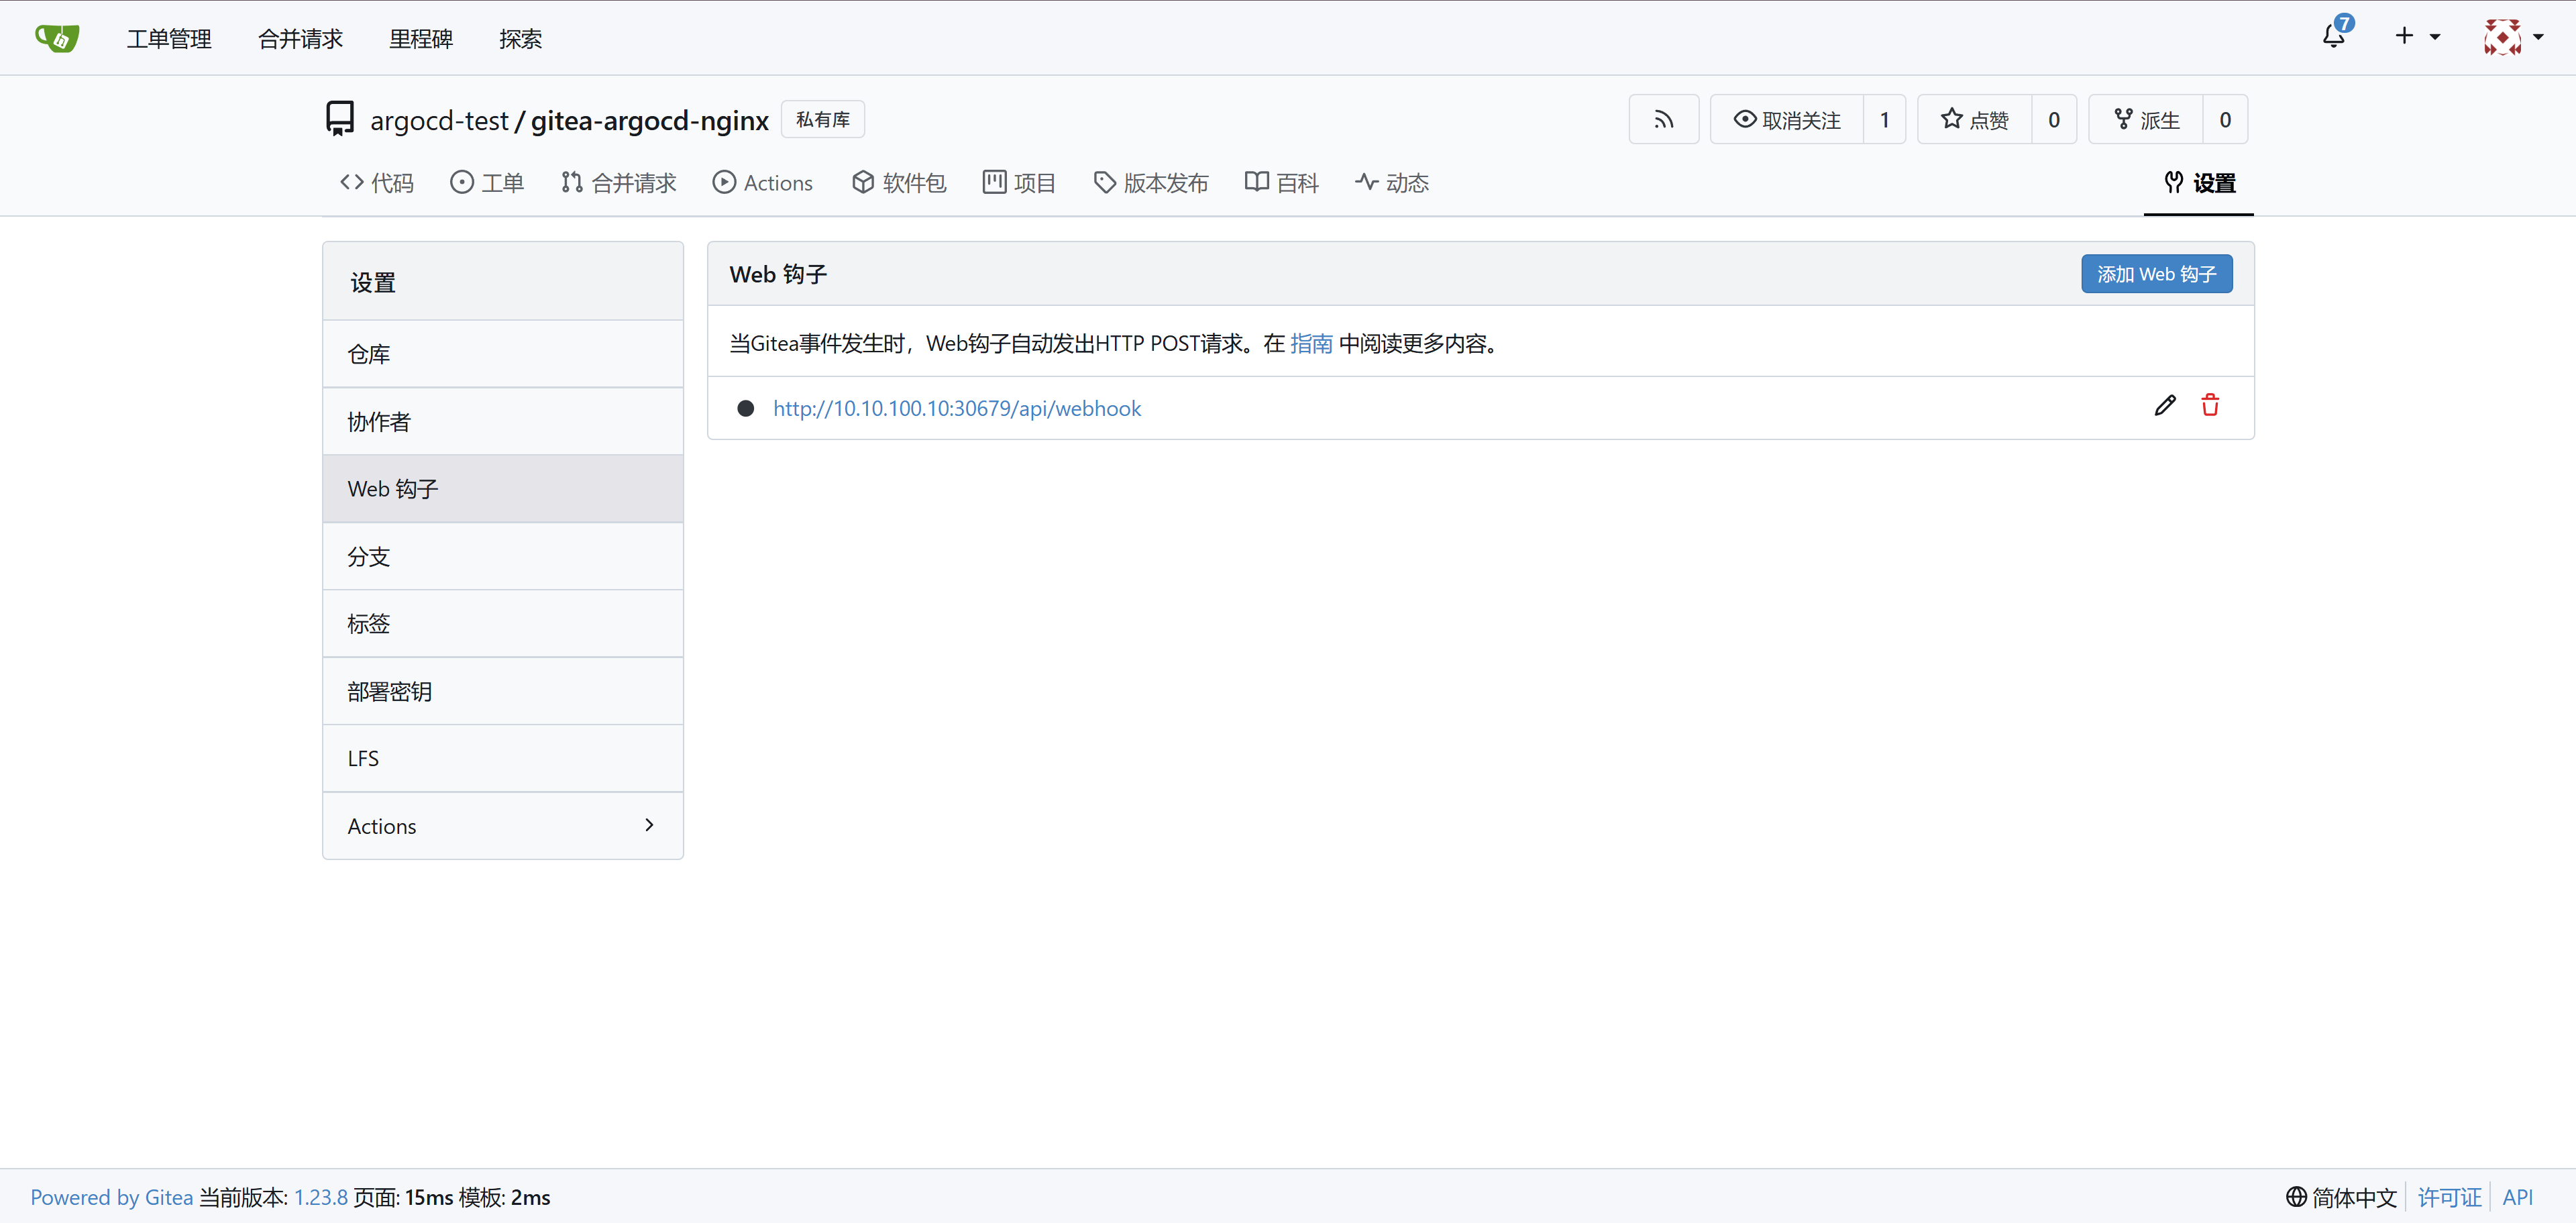
1. 获取 Argocd webhook 地址 
在 Gitea 中配置的 URL 应该使用您的 Argo CD 实例的 /api/webhook 接口。
(例如 argocd.xxx.com/api/webhook… Secret Token 是可选的,建议添加上,可输入任意值。在下一步配置 webhook 时将使用此值。
2. Git源码仓库配置 
Gitea 配置 webhook 的事件触发
 |
3. 使用 WebHook Secret 配置 Argo CD 
在 kubernetes secret argocd-secret 中添加上面配置的 Secret Token:
kubectl edit secret argocd-secret -n argocd
apiVersion: v1
kind: Secret
metadata:
  name: argocd-secret
  namespace: argocd
type: Opaque
data:
...

stringData:
  # gitea webhook secret
  webhook.gilib.secret: argocdgitea123
  webhook.github.secret: argocdgitea123
5. 配置基于 Web 的终端 
https://argo-cd.readthedocs.io/en/stable/operator-manual/web_based_terminal/
1. 启用终端 
1. 在argocd-cmConfigMap 中,将exec.enabled键设置为"true"。这将启用 Argo CD 中的 exec 功能。
kubectl -n argocd edit configmap argocd-cm
apiVersion: v1
kind: ConfigMap
metadata:
  name: argocd-cm
  namespace: <namespace>  # Replace <namespace> with your actual namespace
data:
  exec.enabled: "true"
2. 修补argocd-serverRole(如果使用命名空间 Argo)或 ClusterRole(如果使用集群 Argo)以允许argocd-server 进入execPod
- apiGroups:
  - ""
  resources:
  - pods/exec
  verbs:
  - create